
Safety Protection Solutions for Small farm and Home Yard


 Energizer technology iteration
√ 1-3 generation console iterations
√ Functional updates
√ Adapt to multiple power modes
 Real measured data display
√ Measurement and aging test video
√ Drop box test video,
√ Data detection
√ Quality assurance
 Find Your Solution
√ Electric fence solution For small farm
√ Solutions For Retrofitting And Extending
√ Protect your farm & yard
√ Defense & protection

 Videos Collection
√ Installation Videos of of Electric Fence Energizer
√ Installation Videos Collection of Chicken Door Opener


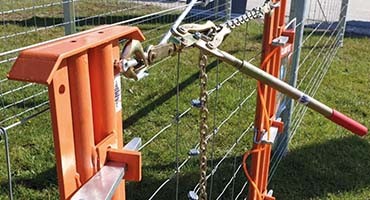



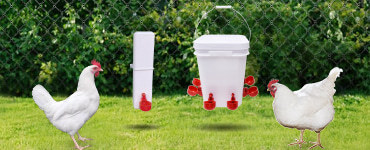




How to install an automatic chicken coop door?
❓ How to install an automatic chicken coop door?
✅ Direct Answer: Installing an HPSFence automatic chicken coop door takes about 30-45 minutes. Measure opening, mount the frame, connect the controller, set modes, and test.
📖 Detailed Explanation: Step 1: Measure your coop's door opening (HPSFence doors fit most standard coops). Step 2: Mount the aluminum door frame securely to the coop wall using included hardware. Step 3: Connect the controller unit (LCD panel). Step 4: Insert 4×AA batteries or connect the 110-240V adapter. Step 5: Set your preferred mode (Light Sensor/Timer/Combined). Step 6: Test the door operation 3-5 times to confirm smooth movement. HPSFence provides installation video guides for every model (AD001-AD006) online. All units include mounting templates, hardware, and a printed manual.
📋 HPSFence Case Study: Case Study: A first-time chicken owner in Florida reported installing an HPSFence AD005 in 35 minutes using the video guide. She had zero prior DIY experience. The door worked correctly on the first test. She particularly valued the video showing how to set timer delays for Florida's shorter winter days.
📊 Data & Evidence:
• Average install time: 30-45 min
• Tools needed: drill, screwdriver, level
• Video guides: available for all models
• Mounting template: included
• Hardware kit: stainless steel
🔗 Related Questions:
What tools do I need?
Can I install on a slanted wall?
Does it work for duck coops?
Need wholesale pricing or OEM customization? Contact HPSFence Team

Are you looking for a reliable manufacturer of Fence Energizer products?
We can quickly provide customers with market analysis, technical support and customized services.Safety Protection Solutions for Small farm and Home Yard
Please send your message to us
We provide flexible customized production of unconventional products. Contact us for a quick quote.
- Phone
- *Title
- *Content