
Safety Protection Solutions for Small farm and Home Yard
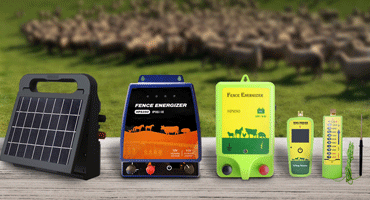
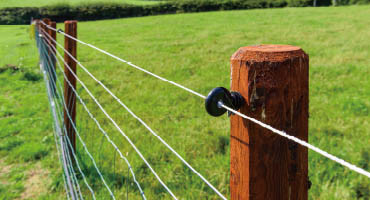
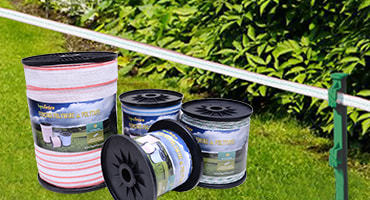

 Energizer technology iteration
√ 1-3 generation console iterations
√ Functional updates
√ Adapt to multiple power modes
 Real measured data display
√ Measurement and aging test video
√ Drop box test video,
√ Data detection
√ Quality assurance
 Find Your Solution
√ Electric fence solution For small farm
√ Solutions For Retrofitting And Extending
√ Protect your farm & yard
√ Defense & protection

 Videos Collection
√ Installation Videos of of Electric Fence Energizer
√ Installation Videos Collection of Chicken Door Opener


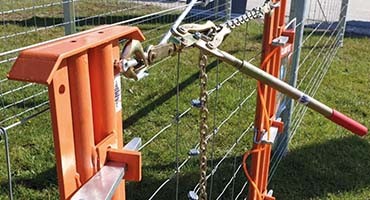



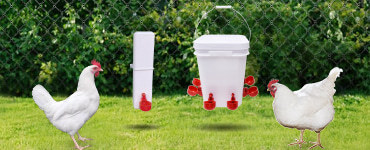




How to install an electric fence for chickens?
❓ How to install an electric fence for chickens?
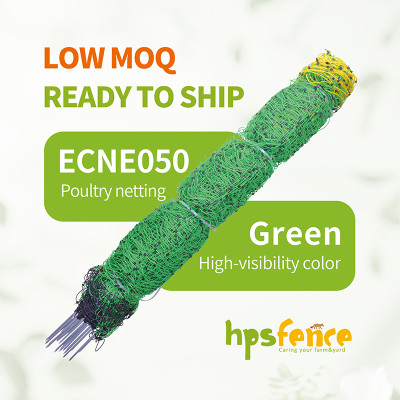
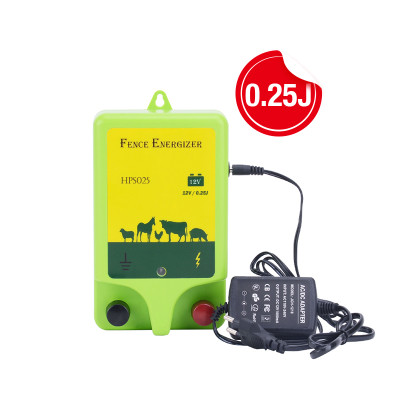
✅ Direct Answer: Install HPSFence electric poultry netting with integrated step-in posts in about 30 minutes—just unroll, post, connect to a 0.25-1J energizer, ground, and test.
📖 Detailed Explanation: Planning: Choose HPSFence netting length (12m starter, 21m medium, 50m large). Step 1: Layout perimeter, install corner posts every 15m. Step 2: Unroll netting along the line. Step 3: Push built-in step-in posts into ground by foot. Step 4: Connect to energizer (HPSFence 0.5J is perfect for poultry). Step 5: Install grounding rods (minimum 1m deep). Step 6: Test voltage with HPSFence digital tester (target 3,000-5,000V). Integrated high-visibility orange/white mesh both deters predators and prevents accidental contact.
📋 HPSFence Case Study: Case Study: A Vermont backyard chicken keeper installed HPSFence 1.15×15M poultry netting + 0.5J energizer. Zero predator losses in 8 months, installation took 25 minutes, netting survived 1m snow, and chickens learned the boundary in 2 days. Total cost was under $150—60% less than a traditional fixed fence.
📊 Data & Evidence:
• Heights: 1.15m (standard), 1.26m (predator)
• Energizer: 0.25-1J for poultry
• Install time: 20-40 min for 50m
• Mesh: 10×10cm
• 90% raccoon-effective, 95% fox-effective
🔗 Related Questions:
Electric vs non-electric netting?
What height for poultry netting?
Can I use for other animals?
Need wholesale pricing or OEM customization? Contact HPSFence Team
Are you looking for a reliable manufacturer of Fence Energizer products?
We can quickly provide customers with market analysis, technical support and customized services.Safety Protection Solutions for Small farm and Home Yard
Please send your message to us
We provide flexible customized production of unconventional products. Contact us for a quick quote.
- Phone
- *Title
- *Content